US Shoppers, Save $Track Price History with AI Alerts
September 1, 2026

US Shoppers, Save $212: Track Price History with AI Alerts
The fastest way to track price history is to open the product page and check for a built-in price-history widget or your browser’s shopping insights panel. If neither shows up, paste the product link into a universal price tracker or install a price-tracking extension for on-page charts. Whatever method you use, finish by setting a watchlist alert with a specific target price. That last step is what actually turns a chart into savings.
TL;DR:
- Retailer-native tools provide the most accurate price history data but are only available for some products and stores, limiting their coverage.
- Browser insights and extensions offer quick, on-page tracking but require permissions and are better suited for short-term monitoring rather than long-term analysis.
- Universal trackers and mobile apps cover multiple retailers and offer alerts, but their data often only begins when tracking is started, and variant matching is crucial to avoid errors.
- Setting specific dollar amount alerts in layers helps avoid alert fatigue, focusing only on meaningful price drops aligned with upcoming sale events.
- Always verify the final checkout price and consider regional, shipping, and coupon factors to avoid surprises, as chart history does not guarantee the exact price you’ll pay.
Table of Contents
- Types of Price History Tools and How They Compare
- How Do You Check a Product’s Price History?
- Setting Up Extensions and Bookmarklets the Right Way
- Building Alerts That Catch Real Deals Without the Noise
- Why the Price on the Chart Isn’t Always the Price You’ll Pay
- Reading the Chart: When to Buy, Wait, or Walk Away
- Why AI Price Search Is Worth Adding to Your Toolkit
- How Price History Fits Into Your Broader Budget
- What to Know About Privacy Before You Install a Tracker
- What Most Price-Tracking Advice Gets Backward
- Start Tracking Smarter With AI Price Search
- Sources
Types of Price History Tools and How They Compare
Not every price-tracking tool solves the same problem, and picking the wrong one wastes time you don’t have during a flash sale.
Retailer-native history is built directly into the product page you’re already looking at. Amazon, for instance, displays 30, 90, and 365-day price history right on eligible listings, letting you judge a “deal” against months of real data instead of a marketing banner. The upside is speed and accuracy since the retailer owns the data. The downside: not every product or every retailer offers it.
Browser shopping insights sit one layer out from the retailer. Chrome’s shopping insights feature can surface price ranges and variant history directly in the browser, without you installing anything. It’s the lowest-friction option on this list, though it’s better for a quick gut check than for ongoing monitoring.
Universal price-tracker sites work across thousands of retailers by letting you paste in a URL. Coverage is their strength, but most of them only start recording a product’s price the moment someone first tracks it, so a “since 2019” chart rarely exists for a niche item.
Extensions and bookmarklets live in your browser toolbar and often overlay a chart directly on the product page while actively monitoring it in the background. Chrome Web Store listings for tools like Price History - Price Tracker show the typical feature set: on-page charts, watchlists, and multi-channel alerts.
Mobile apps trade the desktop’s bigger screen for push notifications you’ll actually see. Play Store listings for apps like Price History: Track and save! show the standard pattern: cross-store tracking, saved watchlists, and historical graphs built for a phone screen.
Here’s how the tradeoffs stack up in practice:
- Retailer-native tools: highest accuracy, but limited to specific stores and products.
- Browser insights: zero setup, but weaker for long-term monitoring.
- Universal trackers: broad coverage, but capped by when tracking started.
- Extensions: strong for active monitoring, but require permission grants.
- Apps: best for on-the-go alerts, but often duplicate what a browser already shows.
How Do You Check a Product’s Price History?
Getting an actual chart in front of you takes one of four paths, depending on where you’re shopping and what device you’re on.
- Check the product page first. Scroll to see if the retailer includes a native history widget, then toggle between the 30, 90, and 365-day views to see whether the current price sits near a real low or just a seasonal dip.
- Use built-in browser insights on desktop. If the retailer doesn’t offer its own chart, Chrome’s shopping insights panel can show price ranges and variant pricing without leaving the tab.
- Paste the link into a universal tracker. Copy the product URL (or an identifier like an ASIN) into a tracker site, confirm you’ve selected the correct size, color, or seller variant, and pull up the chart.
- Adjust your workflow on mobile. Apps tend to surface saved items and alerts more prominently than desktop sites, but checking history usually still means opening the retailer’s app or a tracker app separately. The mobile browser experience is more cramped, so a dedicated app or extension with a mobile companion tends to work better than squinting at a shrunk desktop chart.
The step people skip is variant matching. A phone case in black and one in blue are technically different SKUs, and a tracker can quietly show you the wrong one’s history if you don’t double-check the selection before reading the chart.
Setting Up Extensions and Bookmarklets the Right Way
Extensions are the most powerful option on this list, but they’re also the one that asks the most of you upfront in permissions.
- Install only from the official Chrome Web Store, Firefox Add-ons, or your browser’s equivalent store, and check the developer name and reviews before granting access.
- Grant only the permissions the extension actually needs to function, and be wary of anything asking for broad access to “read and change all your data on all websites” for a tool that just tracks prices.
- Use the variant selector inside the extension to confirm it’s tracking the exact size, color, or seller you want, not a similar-looking listing.
- If an extension claims unusually deep historical data for a store, check its stated data start date. Extension listings themselves often note that tracking only begins once you add an item to a watchlist, so a chart showing years of data on a brand-new product should raise questions.
You can check a developer’s business background through public listings, similar to how BBB profile pages let shoppers verify a company’s registration and reputation before trusting it with account access.
Pro Tip: Before trusting any extension’s chart, right-click the product image and search it. If the “exclusive deal” price shows up identically on five other tracker sites, it’s likely pulled from the same feed, not independently verified.
Building Alerts That Catch Real Deals Without the Noise
A watchlist only works if the alerts on it are worth opening. Too many notifications and you’ll start ignoring all of them, including the one that mattered.
Set your target price as a specific dollar amount rather than a percentage off, since percentage discounts get manipulated more easily than a hard number you’ve already decided you’re willing to pay. Once you’ve picked that number, layer your alerts instead of relying on just one trigger point.
- Set a first alert around a 10% drop to catch early movement.
- Set a second around 20% to flag it’s getting serious.
- Set a final alert at your actual target price, the number where you’ll buy regardless of what happens next.
- Route high-priority items to push notifications and email, and let lower-priority items sit on weekly digest checks instead of real-time pings.
- Filter alerts around known sale events (Black Friday, Prime Day, end-of-season clearance) so you’re not getting pinged for routine ten-cent fluctuations.
The goal isn’t more alerts. It’s fewer alerts that actually mean something when they land.
Why the Price on the Chart Isn’t Always the Price You’ll Pay
A price-history chart tells you what happened. It doesn’t always tell you what will happen to your specific order, and that gap catches a lot of shoppers off guard.
- Confirm the price at checkout, not just on the page. Dynamic and localized pricing can mean the number a tracker recorded doesn’t match what shows up in your cart, especially for shoppers in different regions or with different account histories.
- Check the tracker’s data start date. Many universal trackers only began recording a given product the day someone first added it, so a “lowest ever” claim might really mean “lowest since last Tuesday.”
- Factor in coupons, seller identity, and shipping. A third-party seller offering the “same” item at a lower listed price can end up costing more once shipping and tax are added, and a tracked history rarely accounts for stacked coupon codes.
- Run a quick incognito check before buying. Personalized pricing based on your browsing history or location can shift what you see. Opening the listing in an incognito window is a fast way to confirm the price holds up without your account’s influence.
Reading the Chart: When to Buy, Wait, or Walk Away
Once you’ve got a real chart in front of you, the decision usually comes down to three questions.
- Is the current price at or near the 365-day low? That’s typically your strongest signal to buy, unless there’s a supply issue (a discontinued model, limited stock) pushing the price down for reasons that have nothing to do with a genuine sale.
- Is it low but not the lowest ever? Check whether a major sale event is coming up in the next few weeks. If Black Friday is ten days out, a “pretty good” price today might get beaten soon.
- Is the chart jumpy with no clear pattern? High volatility usually means waiting makes sense unless you need the item immediately. A steady downward slope, on the other hand, suggests holding a bit longer often pays off.
Retailers themselves frame the 30/90/365-day comparison as the standard way to verify whether a sale price is genuine, particularly around major shopping events where “up to 70% off” banners don’t always hold up against the real historical range.
Run the decision in order: check the 30/90/365-day ranges first, verify the seller and checkout price second, and only then decide whether to buy now or set an alert and wait.
Why AI Price Search Is Worth Adding to Your Toolkit
AI Price Search pairs universal price search with watchlists, a dropship detector that flags inflated reseller markups, and verified-seller comparisons across US retailers and factory-direct sources. Its AI-assisted timing signals go beyond a static chart by estimating when a price is likely to drop further. Users reported average savings of $212 this month. The smart move: use it to surface candidates, then confirm with retailer history and a final checkout price check.
How Price History Fits Into Your Broader Budget
Tracking a single product’s price is useful. Tracking it in isolation from the rest of your spending is where most people leave money on the table.
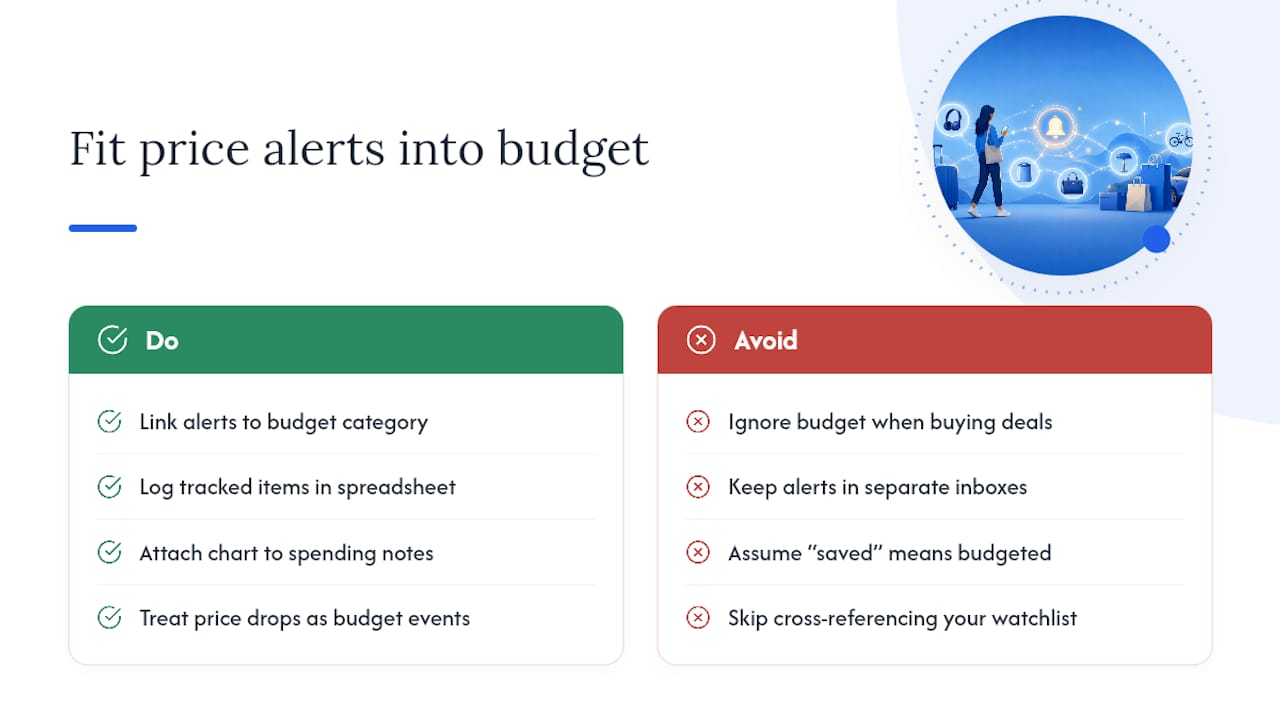
If you’re using a budgeting app to manage monthly spending, a price-history alert that fires while you’re mid-scroll is far more useful if it lands next to your actual budget category, not buried in a separate inbox. Some shoppers manually log tracked items into a spreadsheet alongside their monthly budget so a $200 “deal” on a jacket doesn’t quietly blow past a clothing allowance that was supposed to be $75. Others simply screenshot the chart and drop it into a notes app tied to their spending tracker, which is low-tech but works.
The bigger discipline is treating a price drop as a budgeting event, not just a shopping one. A 20% discount on a $500 item still means spending $400 you may not have planned for. Cross-referencing your watchlist against whatever app tracks your monthly spending, even manually, catches the trap where “I saved money” quietly becomes “I spent money I hadn’t budgeted for.” Price tracking tells you the best moment to buy. It doesn’t tell you whether you should.
What to Know About Privacy Before You Install a Tracker
Every price-tracking tool needs some level of access to work, and that access varies a lot between categories.
Browser extensions typically need permission to read data on pages you visit, which is how they detect prices and overlay charts. That’s a reasonable ask for a legitimate tracker, but it’s also the exact permission a poorly-vetted extension could misuse to log more than prices. Stick to extensions with transparent developer information and reviews that mention specific, verifiable behavior rather than vague five-star praise.
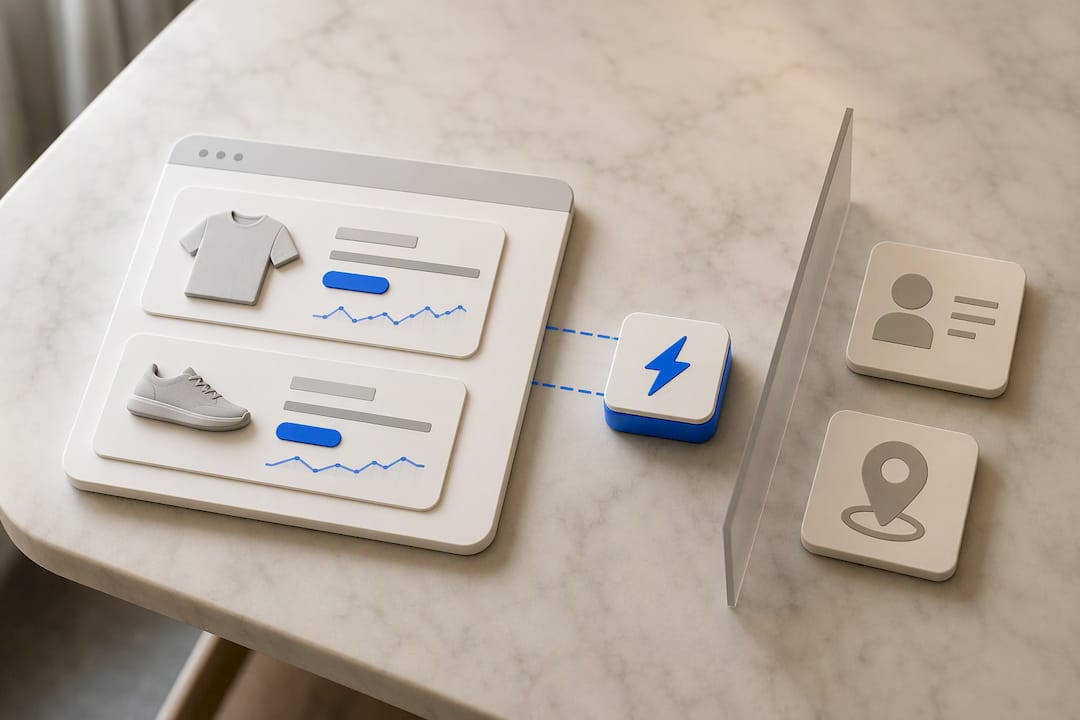
Universal tracker websites usually just need the URL you paste in, which is a lower-risk model since you’re not granting ongoing access to your browsing. Mobile apps sit somewhere in between: watchlists and push notifications require an account, and that account may be tied to your email or shopping history depending on the app’s data practices.
The practical rule: read what permissions a tool requests before installing it, not after. If a price tracker asks for access that has nothing to do with reading product pages, like your contacts or full location history, that’s a mismatch worth questioning. Stick to well-reviewed, established tools for anything that touches your accounts, and treat browser-based options as the lower-commitment entry point if you’re not ready to install anything yet.
What Most Price-Tracking Advice Gets Backward
Most guides treat price history as a research problem: find the chart, admire the low point, buy. That misses the actual failure mode, which isn’t a lack of data. It’s too much data with no filter. Shoppers install three trackers, get flooded with alerts, and end up ignoring all of them, including the one that mattered.
The conventional advice to “just check the price history” also glosses over variant matching and checkout verification, the two places charts most often lie to you by accident rather than on purpose. A tracker showing the wrong SKU’s history isn’t lying. It’s just answering a question you didn’t mean to ask.
What actually works is narrower than most advice suggests: pick one reliable source per product category, set two or three tiered alerts instead of a dozen vague ones, and always verify at checkout before trusting the number on the chart. Automation should replace manual checking, not add another tab to check manually. That’s the whole point of a good watchlist.
— Timothy
Start Tracking Smarter With AI Price Search
Retailer widgets and browser insights are solid for a one-time check, but they don’t watch prices for you across multiple stores while you’re busy living your life. AI Price Search closes that gap: it compares prices across verified US retailers and factory-direct sources, flags dropship markups before you overpay for a marked-up reseller listing, and lets you build a watchlist with AI-assisted timing signals instead of guessing when to check back.
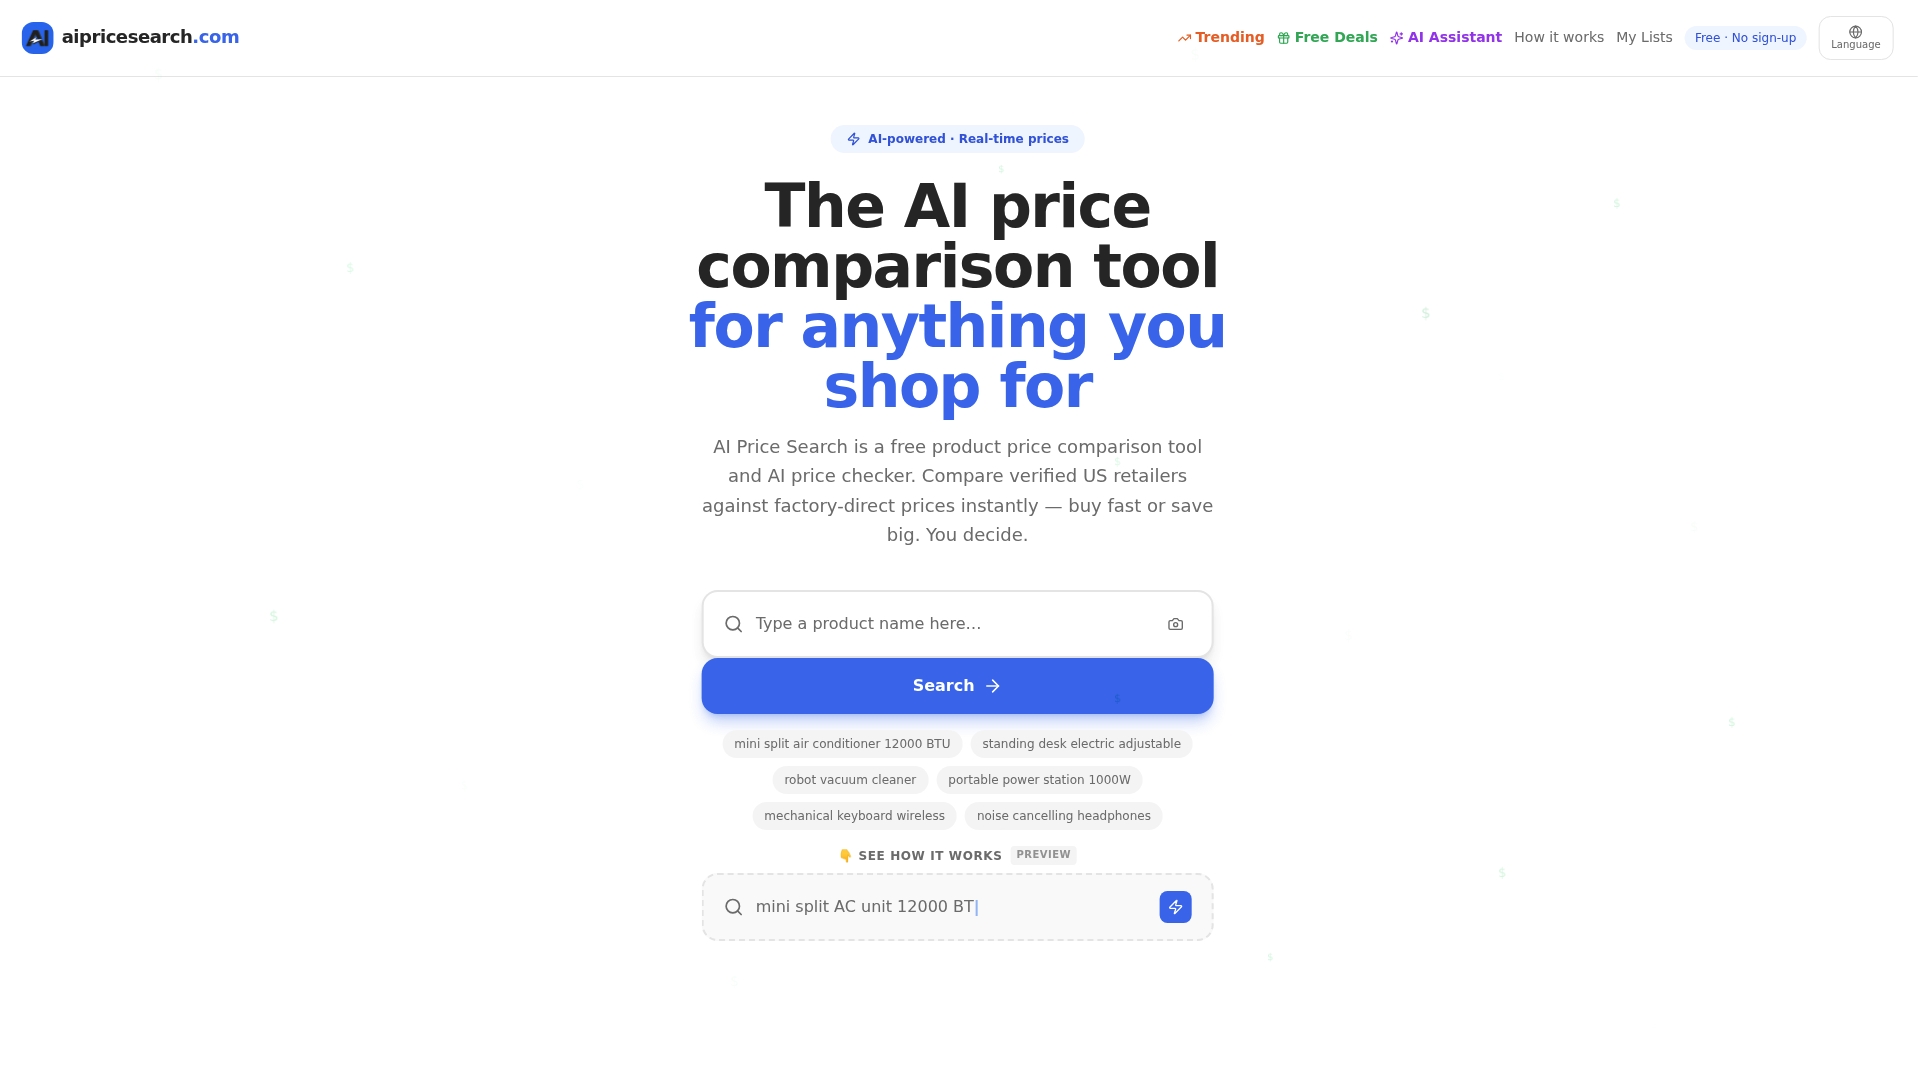
If you’re tired of bouncing between five tabs to confirm one price is actually good, this is the tool built for exactly that problem. Set up a free watchlist with a target price on the next item you’re eyeing, and let the alerts do the checking instead of you.
Sources
Check the Amazon price history explainer, Chrome’s shopping insights page, and app store listings directly for the latest documented behavior.
- What is Amazon’s price history feature and how does it work?
- Shopping insights and price tracking in Chrome
- Price History - Price Tracker (Chrome Web Store)